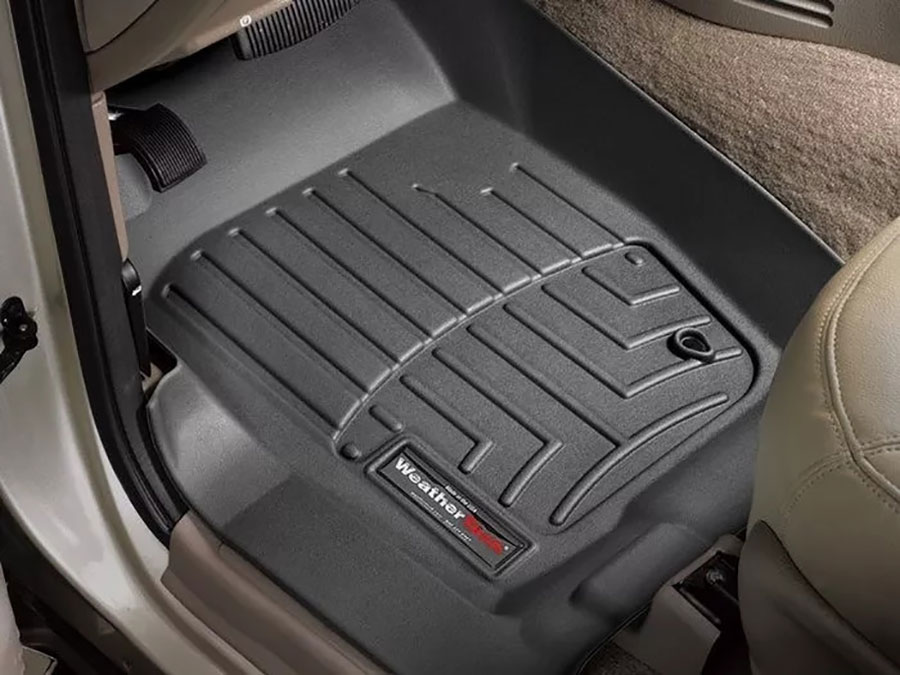
So, you decided to give your vehicle’s interior a touch of class by installing WeatherTech floor mats.
Your rubber floor mat has, without doubt, got you through all the mess you’ve thrown at it—road salt, spills, grease, chemicals, grit, and much, much more.
But exactly how much are you doing to extend its life and to ensure that you still get intended maximum protection from it?
What cleaning procedures do you use? How do you remove or reinstall?
You may think maintaining a vehicle mat’s a no-brainer—but a lot can go wrong and lessen its lifespan. You might make the mistake of using the wrong cleaning products or, worse, incorrect maintenance techniques.
Perhaps you just got your new mat, and you’re not sure how to keep it in top condition.
Luckily, PartCatalog reveals invaluable effortless tricks to breathe more life into your WeatherTech mat.
You’ll also get to see how the manufacturers had you in mind during its design.
They found a way to incorporate different features to make your maintenance journey a breeze.
The following are simple cheats to keep your mat as good as new:
Clean Your Mat Regularly and Properly
Needless to say, your vehicle isn’t at its best when the floor is dirty. Stains, mud, and dirt can make your mat look faded or worn out.
Your mat’s channels have trapped and contained the dirt and spills within the deep channel system. Now it’s time to give it a thorough cleaning.
Follow these steps to restore your mat to its best:
Step #1:
Carefully remove your mat from the vehicle floor. Lay it on the driveway or any flat surface, or you can hold it up. Use a hose or pressure sprayer to wash away all loose dirt using freshwater.

This should only leave behind that stubborn dirt hiding deep within the channels.
Step #2:
Next, you need to remove the aggressive dirt.
For this step, PartCatalog recommends using an effective cleaner like TechCare® FloorLiner and FloorMat Cleaner. It’s a biodegradable foaming cleaner that rids scuff marks, grit, and spills without fazing your mat’s quality and finishes.
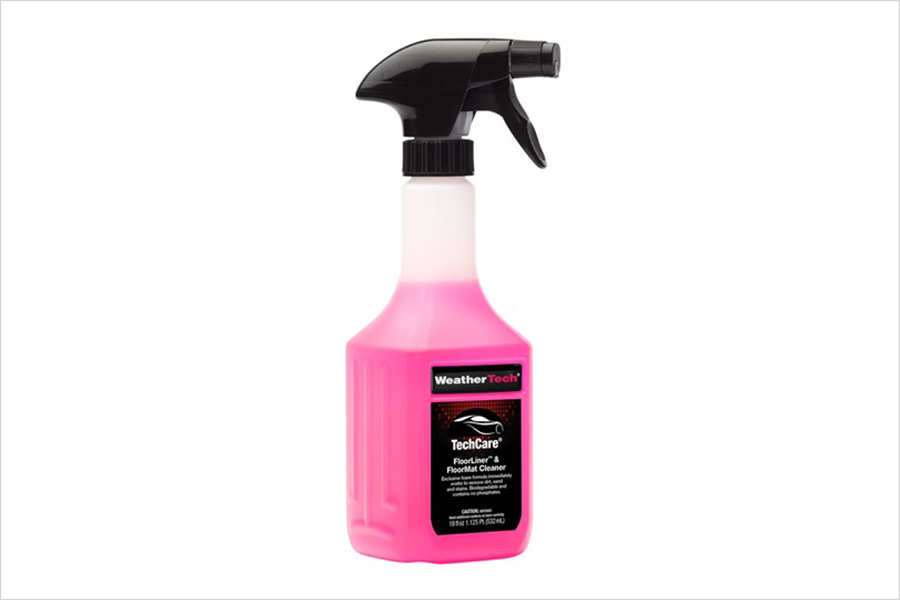
Alternatively, you can use a mild detergent. Once you’ve chosen your cleanser, spray or spread it on the surface.
Step #3:
Use a medium bristle brush or a cloth to scrub your mat gently.
Step # 4:
Rinse with water. Move it to a dry surface and let it dry in the sun.
Pro Tip: To extend your mat’s life, avoid cleaning with harsh detergents or abrasive type cleaners. They can do a lot of damage.
Condition With a Dressing or Protectant
Don’t you crave that sparkling look that your mat came with when it was new?
Cleaning alone doesn’t stop it from looking faded and greyed-out.
This is where a conditioner comes in handy. You can condition your mat on a daily basis or immediately after cleaning.
PartCatalog recommends using safe, non-oily, biodegradable treatments like TechCare® FloorLiner and FloorMat Protector.
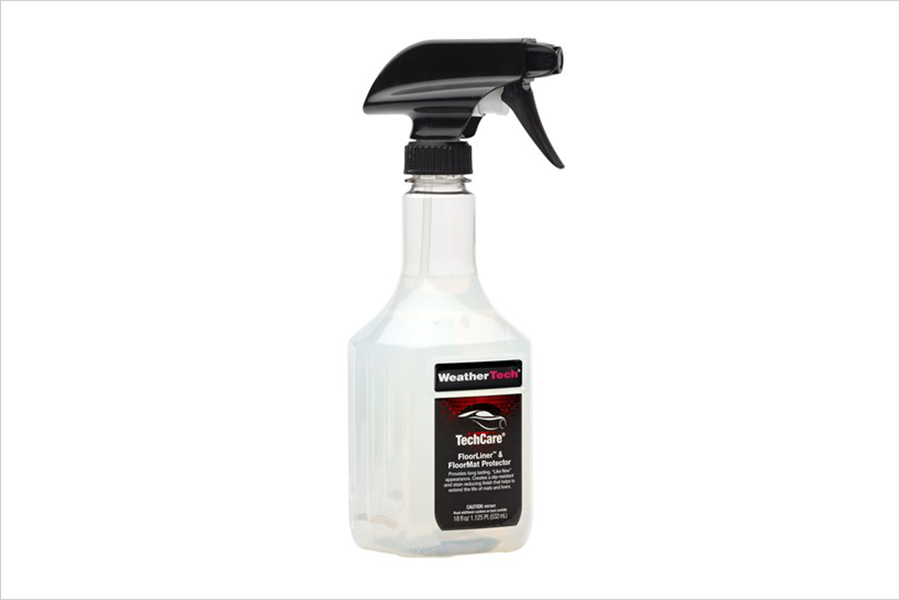
A good protectant gives your mat an anti-slip finish and helps it resist stains by boosting its wear and tear resistance.
How do you apply?
Spray the conditioner over the entire mat.

You’ll need a sponge or cloth, preferably a damp one, to spread the conditioner over the entire mat.
Leave it to dry.
Pro Tip: To preserve your mat’s quality, avoid Silicone-based treatments like Armor-All. They render your mat’s surface slippery, and your foot can slip off the brake or clutch pedal, causing serious injuries.
Install or Remove Your Mat Appropriately
How do you install, remove, and reinstall your mat?
You don’t just set it down like you’re laying down a blanket. You also don’t just pull it off as you might tear it.
Proper installation protects it from leaks and dirt that could sneak beneath it.
Most WeatherTech mats feature factory safety and retention anchors, which may be hooks or retention grommets. They’re mostly found on the driver’s side.
These help floor mats stay in place so that they don’t slide during transit.

Retention Hooks
Hook fasteners are often found towards the rear of the mat, near seat rails.
If you’re installing retention hooks, let them go through the hook holes.
While removing, use two hands—one to lift the mat, the other to move it off the hook.
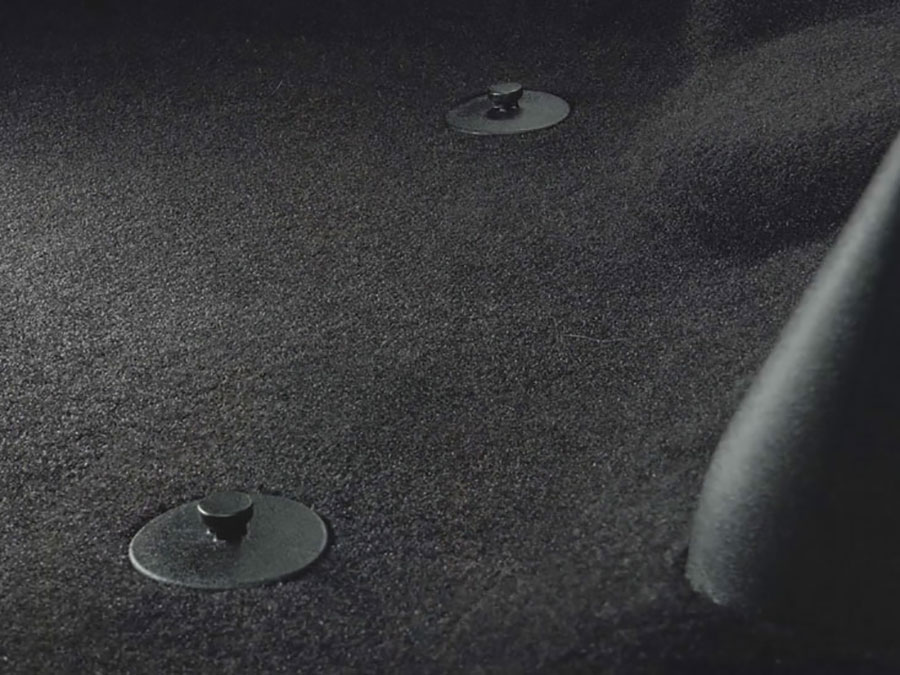
Retention Grommets
Tightly engage grommets. Press your mat securely and ensure it snaps to a retention post or clip.
Button clips are the most common grommets.
When removing, slide your hand under the mat. Get close to the clip and lift up your mat.
Use both hands—one to hold down the button clip and one to lift the mat out.
Ensure you hear a subtle popping sound. This indicates that your mat is ready to remove.
For twist-lock fasteners, rotate before removing. This unlocks the mat from the car’s footwell. Once done, lift the mat up and remove it.
Always check that the mat is tightly fastened to the floor before driving.
Test the brake and clutch pedals for full movement. Ensure they don’t interfere with your mat.
Straightening Unsightly Curls
If you’ve used WeatherTech mats for a while, you may already know that curling is inevitable.
They have raised lips on the edges. After some time, these edges start curling inwards.
These curls allow particles to lodge between your floorboard and your mat.
Curls are mainly caused by cold environments and sub-zero weather and are hard to rid of once they’ve fully formed.
PartCatalog recommends laying your mat out in the sun for hours or days whenever you start noticing curls. Try rolling it in the opposite direction where the curling is directed.
Don’t worry about odors; the HDTE thermoplastic material makes WeatherTech mats odorless even in extreme temperatures.
You can also place something heavy on top of the mat, like a stack of blocks.
These techniques should help bring it back to the right shape and make it ready to be reinstalled.
Replace Your Old Mats
Eventually, all that’s good comes to an end.
When your mats no longer do their job well and are looking tired, maybe it’s time to accept that you need a new set.
Here are signs that your vehicle needs a mat replacement:
- No longer fits perfectly well.
- Pronounced curls that won’t go away.
- Fading that can no longer be fixed.
- A torn or worn-out appearance.
Looking to replace or get a new mat? PartCatalog has you covered.
Here are PartCatalog’s All-Weather WeatherTech floor mats:
| Color | Coverage | Avereage Price | |
| WeatherTech DigitalFit Floor Liners | Tan, cocoa, black, grey | Front, rear | $127.95 |
| WeatherTech DigitalFit Cargo Liner | Tan, cocoa, black, grey | Cargo, trunk | $127.95 |
The prices vary based on your vehicle’s year/make/model and which set you are interested in (front or rear, entire set, etc).
PartCatalog has over ten years of experience in selling vehicle spare parts, so they can easily help you find what you’re looking for.
More to Consider
- Though engineered to offer resistance against chemicals, leaks, wear, and tear, try minimizing exposure of your car mat to harsh chemicals or conditions that can affect your warranty and also shorten its life.
- Make a habit of airing out your mat. This helps keep it dry and minimizes damping between your mat and the floorboard. Damping can cause musty smells in your vehicle.
- Don’t place your new mat on top of the old one. This can increase the chances of sliding and upsetting your pedal grip. It may cause severe injuries or crashes. Remove old ones before new installation.
- Try to cover your floor from every spot. Consider investing in a full set of mats for your first and second row as well as your trunk or cargo area.
- Always remember to use car accessories, like cup holders. Also, have your napkins or tissues on the dashboard so that you may intercept spills before getting to your carpet.
How Are Weathertech Floor Mats Engineered for Easy Maintenance?
WeatherTech is still among the top-rated mats to date—thanks to the intensive research that preceded its design and production.
They are highly durable, weather-tight, leak-proof, and attractive.
These mats have these favorable features for easy maintenance:
- Custom-fit designs
- Raised-ridges and deep reservoir system
- Retention systems
- Quality material
Enjoy Your Properly Maintained Floor Mat
You now have what it takes to maintain the desirable attributes expected of your WeatherTech floor mat, as it was intended.
In the end, every mat must experience wear and tear. But it’s safe to take precautions and to slow the process as much as you can.
When all your maintenance efforts end up futile, you can always make a secure, hassle-free order from PartCatalog.